Make your Home or Business Smart with Automation
Picture a security system that locks doors, adjusts lights, and saves energy without yo
Smarter Access Control is a powerful, cloud-based access solution designed for small and medium-sized businesses. Businesses can now take advantage of powerful user management software, remote door control, and scan-to-add card serial detection all from the user-friendly Alarm.com customer website and Alarm.com app.
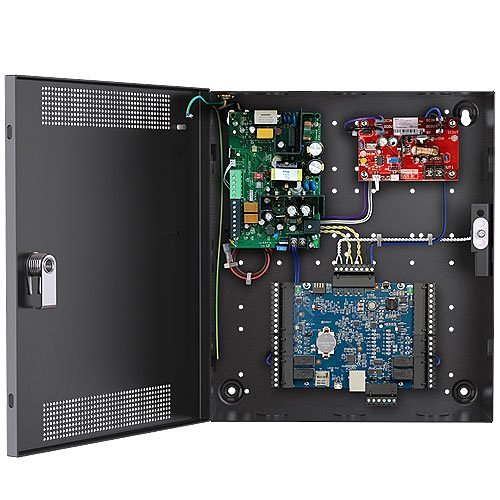
Smarter Access Control can be installed as a stand-alone system or as an integrated solution with other intrusion and video offerings. With easy-to-create access plans and simple user management, you can automate your system using rules to reduce hassle and set up notifications so you always know who comes in and when.
The most commonly used Access Control features are available on the Home page and User Access tab of the Alarm.com customer website and Alarm.com app.
The Home page provides quick access to real-time door control, Scenes, and account activity.
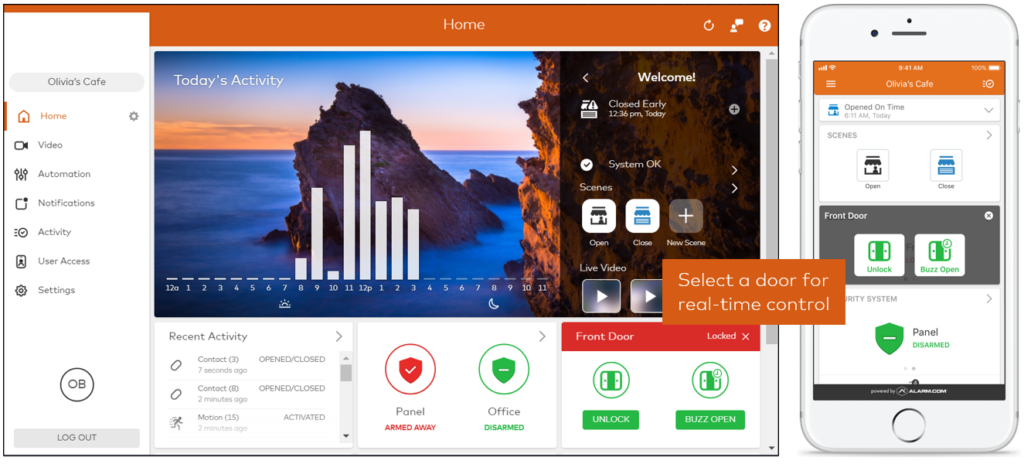
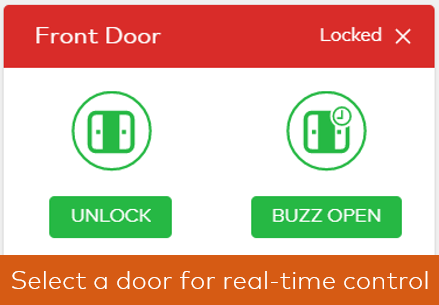
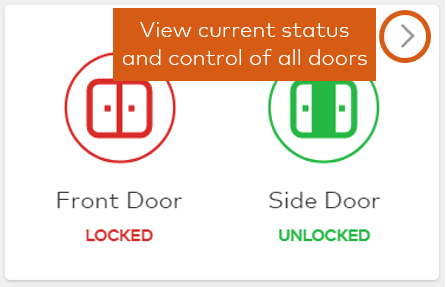
Real-time door control allows you to lock, unlock, and temporarily buzz open doors. Navigate to the Access Points (called Doors in stand-alone Access Control systems) card on the home screen to control your doors.
The User Access tab is where the configuration of the system takes place. Sub-tabs are available for Access Plans, Users, Access Points, and Manage Logins.
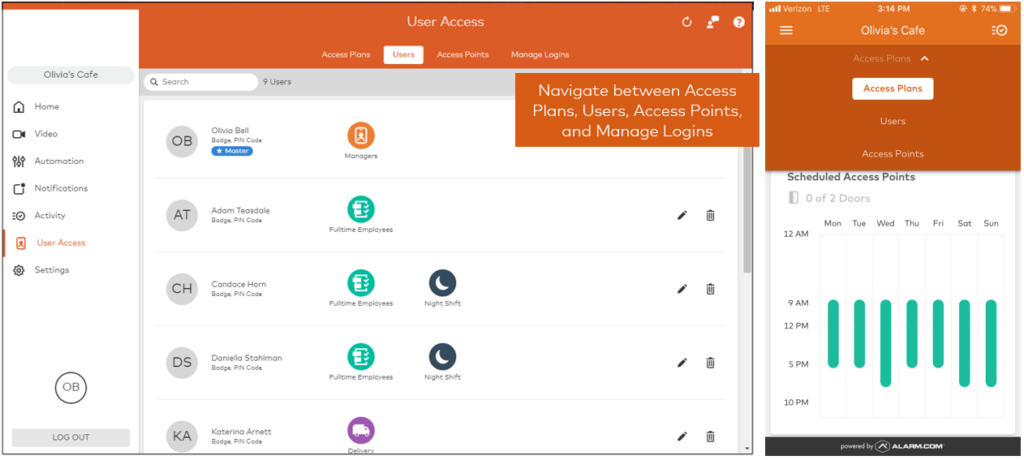
Access Plans allow users to have access to specific doors at specific times. Access Plans can be managed using the Alarm.com app and Alarm.com customer website. For more information, see Add an Access Plan.
Advanced filters can be used to locate a specific user or subset of users. For more information, see Search for users with filters.
Note: Changes to User Access will be sent to the system after 2 minutes of inactivity on the page.

Note: To view a list of all Access Plans, click ≡ using the Alarm.com customer website or tap Actions, then List Layout using the Alarm.com app.
An Access Plan consists of the following:
| Timetable |
Select the times the users in the plan can be granted entry to an access control door. Note: Timetables can contain a maximum of 12 time blocks. |
|---|---|
| Users |
Select which users will be allowed access to which access points and when. |
| Access Points |
Select which doors will be part of the Access Plan. Panel, partition, and Z-Wave locks access can also be selected. Note: Panel and Z-Wave lock access do not follow the timetable, and users will be able to use either 24/7. 
|
| Schedules |
Each day can have the same timetable or a unique schedule. Begin creating timetables by selecting one day of the week – the Edit Time Block window will appear. Choose the start and stop times, then schedules can be copied across other days using the Edit Time Block window if desired. Note: Although you have the option of extending a timetable beyond a 24-hour period, it is a best practice to set the time block for the same day. |
| Managing holidays |
Plans can also be paused on days when the business will not be open or employees do not need to access the business. Navigate to the User Access page. Click Manage Holidays. Name the holiday, select its date from the calendar, then click Save. Select which Access Plans you would like to pause on that date, then click Save. |
Access Plans can be created from the User Access section of the Alarm.com app or Alarm.com customer website.Expand all
 .
.Filters can be used to search for a specific user or subset of users using the Alarm.com app or Alarm.com customer website.
The following advanced search filters are available to locate users: